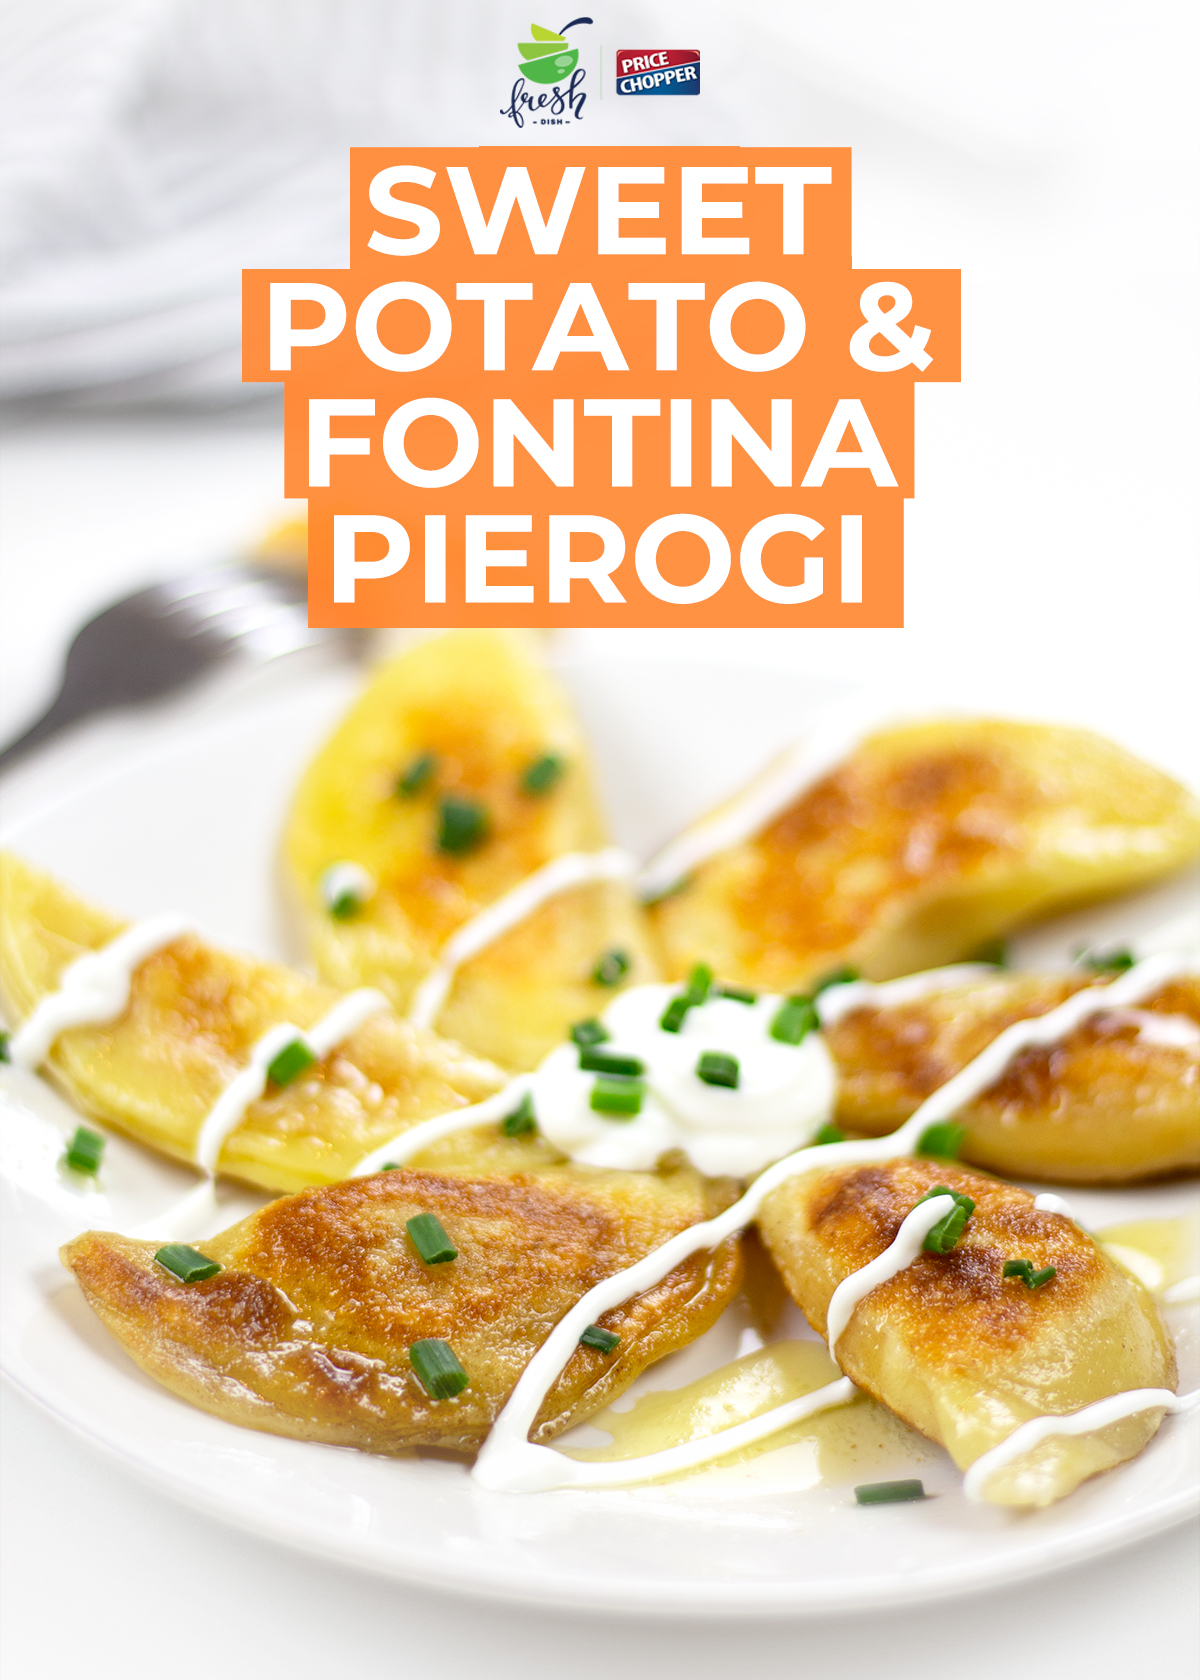

Our Fresh Dish contest winners, Sarah and Rachel, are back in the kitchen preparing an unexpected comfort food. Sweet Potato & Fontina Pierogis are little dumplings that you’ll want to make again and again!
Get creative with your fillings – you can use the dough for both sweet and savory dishes!
Ingredients:
- 2 large sweet potatoes, peeled and cubes
- 1 tablespoon olive oil
- ½ teaspoon salt
- ½ teaspoon freshly cracked pepper
- ½ teaspoon garlic powder
- 1 ½ cups fontina cheese, freshly grated
- 2 1/4 cups all-purpose flour
- 1 teaspoon salt
- 1 tablespoons unsalted butter, melted
- 1 cup plain greek yogurt or sour cream
- 1 large egg
- 1 large egg yolk
- 1 tablespoon canola or vegetable oil
- 3 to 4 tablespoons unsalted butter, for browning/crisping the pierogi
- plain greek yogurt, or sour cream for serving
- freshly chopped chives
What to do:
- Preheat the oven to 425 degrees F.
- Place the cubed sweet potatoes on a baking sheet and drizzle with the olive oil. Sprinkle with the salt, pepper and garlic powder. Roast the potatoes for 20 to 25 minutes, until fork tender.
- While the potatoes are roasting, make the dough. In a large bowl, whisk together the flour and salt. In a small bowl, whisk together the butter, yogurt, egg, egg yolk and oil. Add the wet ingredients to the dry ingredients and stir until a dough forms. Let the dough rest for 10 to 20 minutes.
- Once the potatoes are roasted, add them to a food processor while still hot. Puree until smooth and no lumps remain. Transfer the potatoes to a bowl and stir in the fontina cheese until combined. It might melt slightly which is fine, but don’t worry if it doesn’t - it will melt when cooked!
- Divide the pierogi dough in half. Roll one of the halves out until it’s very thin - about ⅛ of an inch. You don’t want the dough to tear, but you want it to be thin! Use a round cutter like a biscuit cutter or glass to cut rounds out from the dough. Place them on a sheet of parchment paper. Repeat with all the remaining dough, including the other half.
- Take about 1 to 2 teaspoons of filling and place it in the center of each dough round. Repeat with all dough rounds. Brush the edges of each piece of dough with water then fold it over and press it closed, creating the pierogi shape. If desired, you can use a fork to press the edges together.
- At this point you can freeze the pierogi or boil them.
- To freeze, place the pierogi on a baking sheet and freeze the sheet for 30 to 60 minutes. After that, remove the pierogies and place them in a resealable bag. They can be frozen for about 3 months!
- To cook right away or from freezer, bring a pot of salted water to a boil. I cook about 5 to 6 pierogi at a time. Cook for 3 to 5 minutes, just until they float. Once they float, remove with a slotted spoon.
- To crisp the pierogi, heat a large skillet over medium heat and add the butter. Once it begins to brown, add in the boiled pierogi in a single layer. Cook for 1 to 2 minutes per side, until golden and crisp. Serve immediately with plain greek yogurt and chives, plus a drizzle of the butter in the skillet.


